
Custom HD Patio Screen Door Kit Assembly
Follow these instructions to assemble your Custom Heavy Duty Patio Screen Door Kit
Tools Required: Screen Roller, Philips head screw driver, utility knife, hammer or rubber mallet
1) Unpack and inspect all components for damage during shipment, your kit should contain the following items:
A) 4 pieces door frame components
B) 4 rollers installed
C) Screen cloth
D) Screen spline
E) Vinyl bug seal
F) 4 screen corners
G) 2 temporary cross bars
H) Economy screen roller (1 per order)
I) Handle Pack

2) Install screen corners and assemble frame
A) Install screen corners in the top and bottom rails of the door ( these are the ones with the rollers installed in them), use a hammer and piece of wood to tap corners into place if needed.
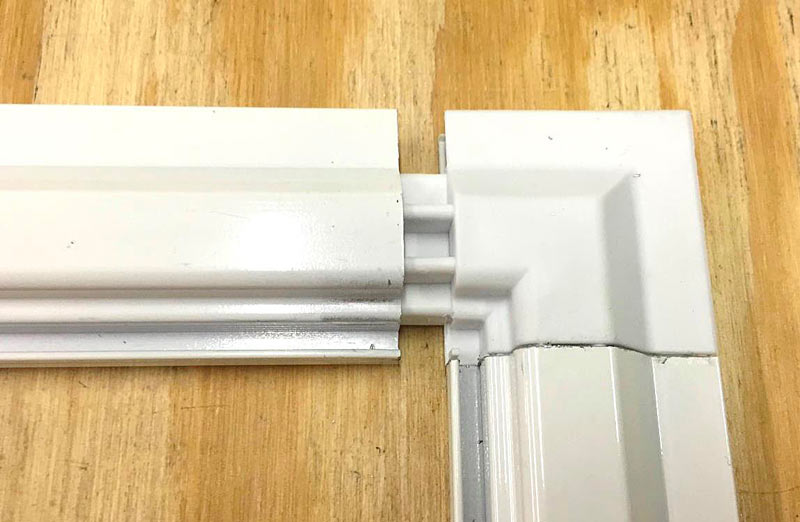
B) Assemble side rails to top rail, tap corners into place if needed.

C) Assemble side rails to bottom rail, tap corners into place if needed.
***IMPORTANT: Your frame is now complete. Before moving on to the next step, install door to ensure that sizing is correct!***
3) Installing the screen cloth
A) Lay the assembled door frame on a flat clean surface with the spline groove facing up
B) Lay the temporary cross bars between the side rails dividing the opening into approximate thirds (this will help keep the screen cloth from over tightening and causing the frame to bow in in the center)

C) Lay the screen cloth over the door frame, overlapping the frame on all four sides of the frame

D) Starting at one corner using your fingers start the screen spline into the screen bar, then using the concave end of the screen roller tool slowly roll the screen spline into place. (NOTE: be sure to hold the screen material straight and tight for the best appearance) Continue to roll the spline around the entire door frame. (Note: be sure not to pull screen cloth too tight as this may cause the door to hourglass or bow in the center.

E) Trim excess spline with a utility knife

4) You are now ready to trim the excess screen cloth from the door
A) Using a screwdriver carefully press spline that may not have fully seated in the corners
B) Using a utility knife, carefully trim the excess screen cloth from each side

5) Install the exterior door handle using the screws provided.


6) Adjust the screws on the top and bottom of the frame. Loosening the screw with allow the wheel to slide further into the frame. This will help install the door. Once the door is in place, the screws can be tightened to “lock” the wheels into place.
7) Finally, remove the temporary cross bars, install and enjoy your door!!